

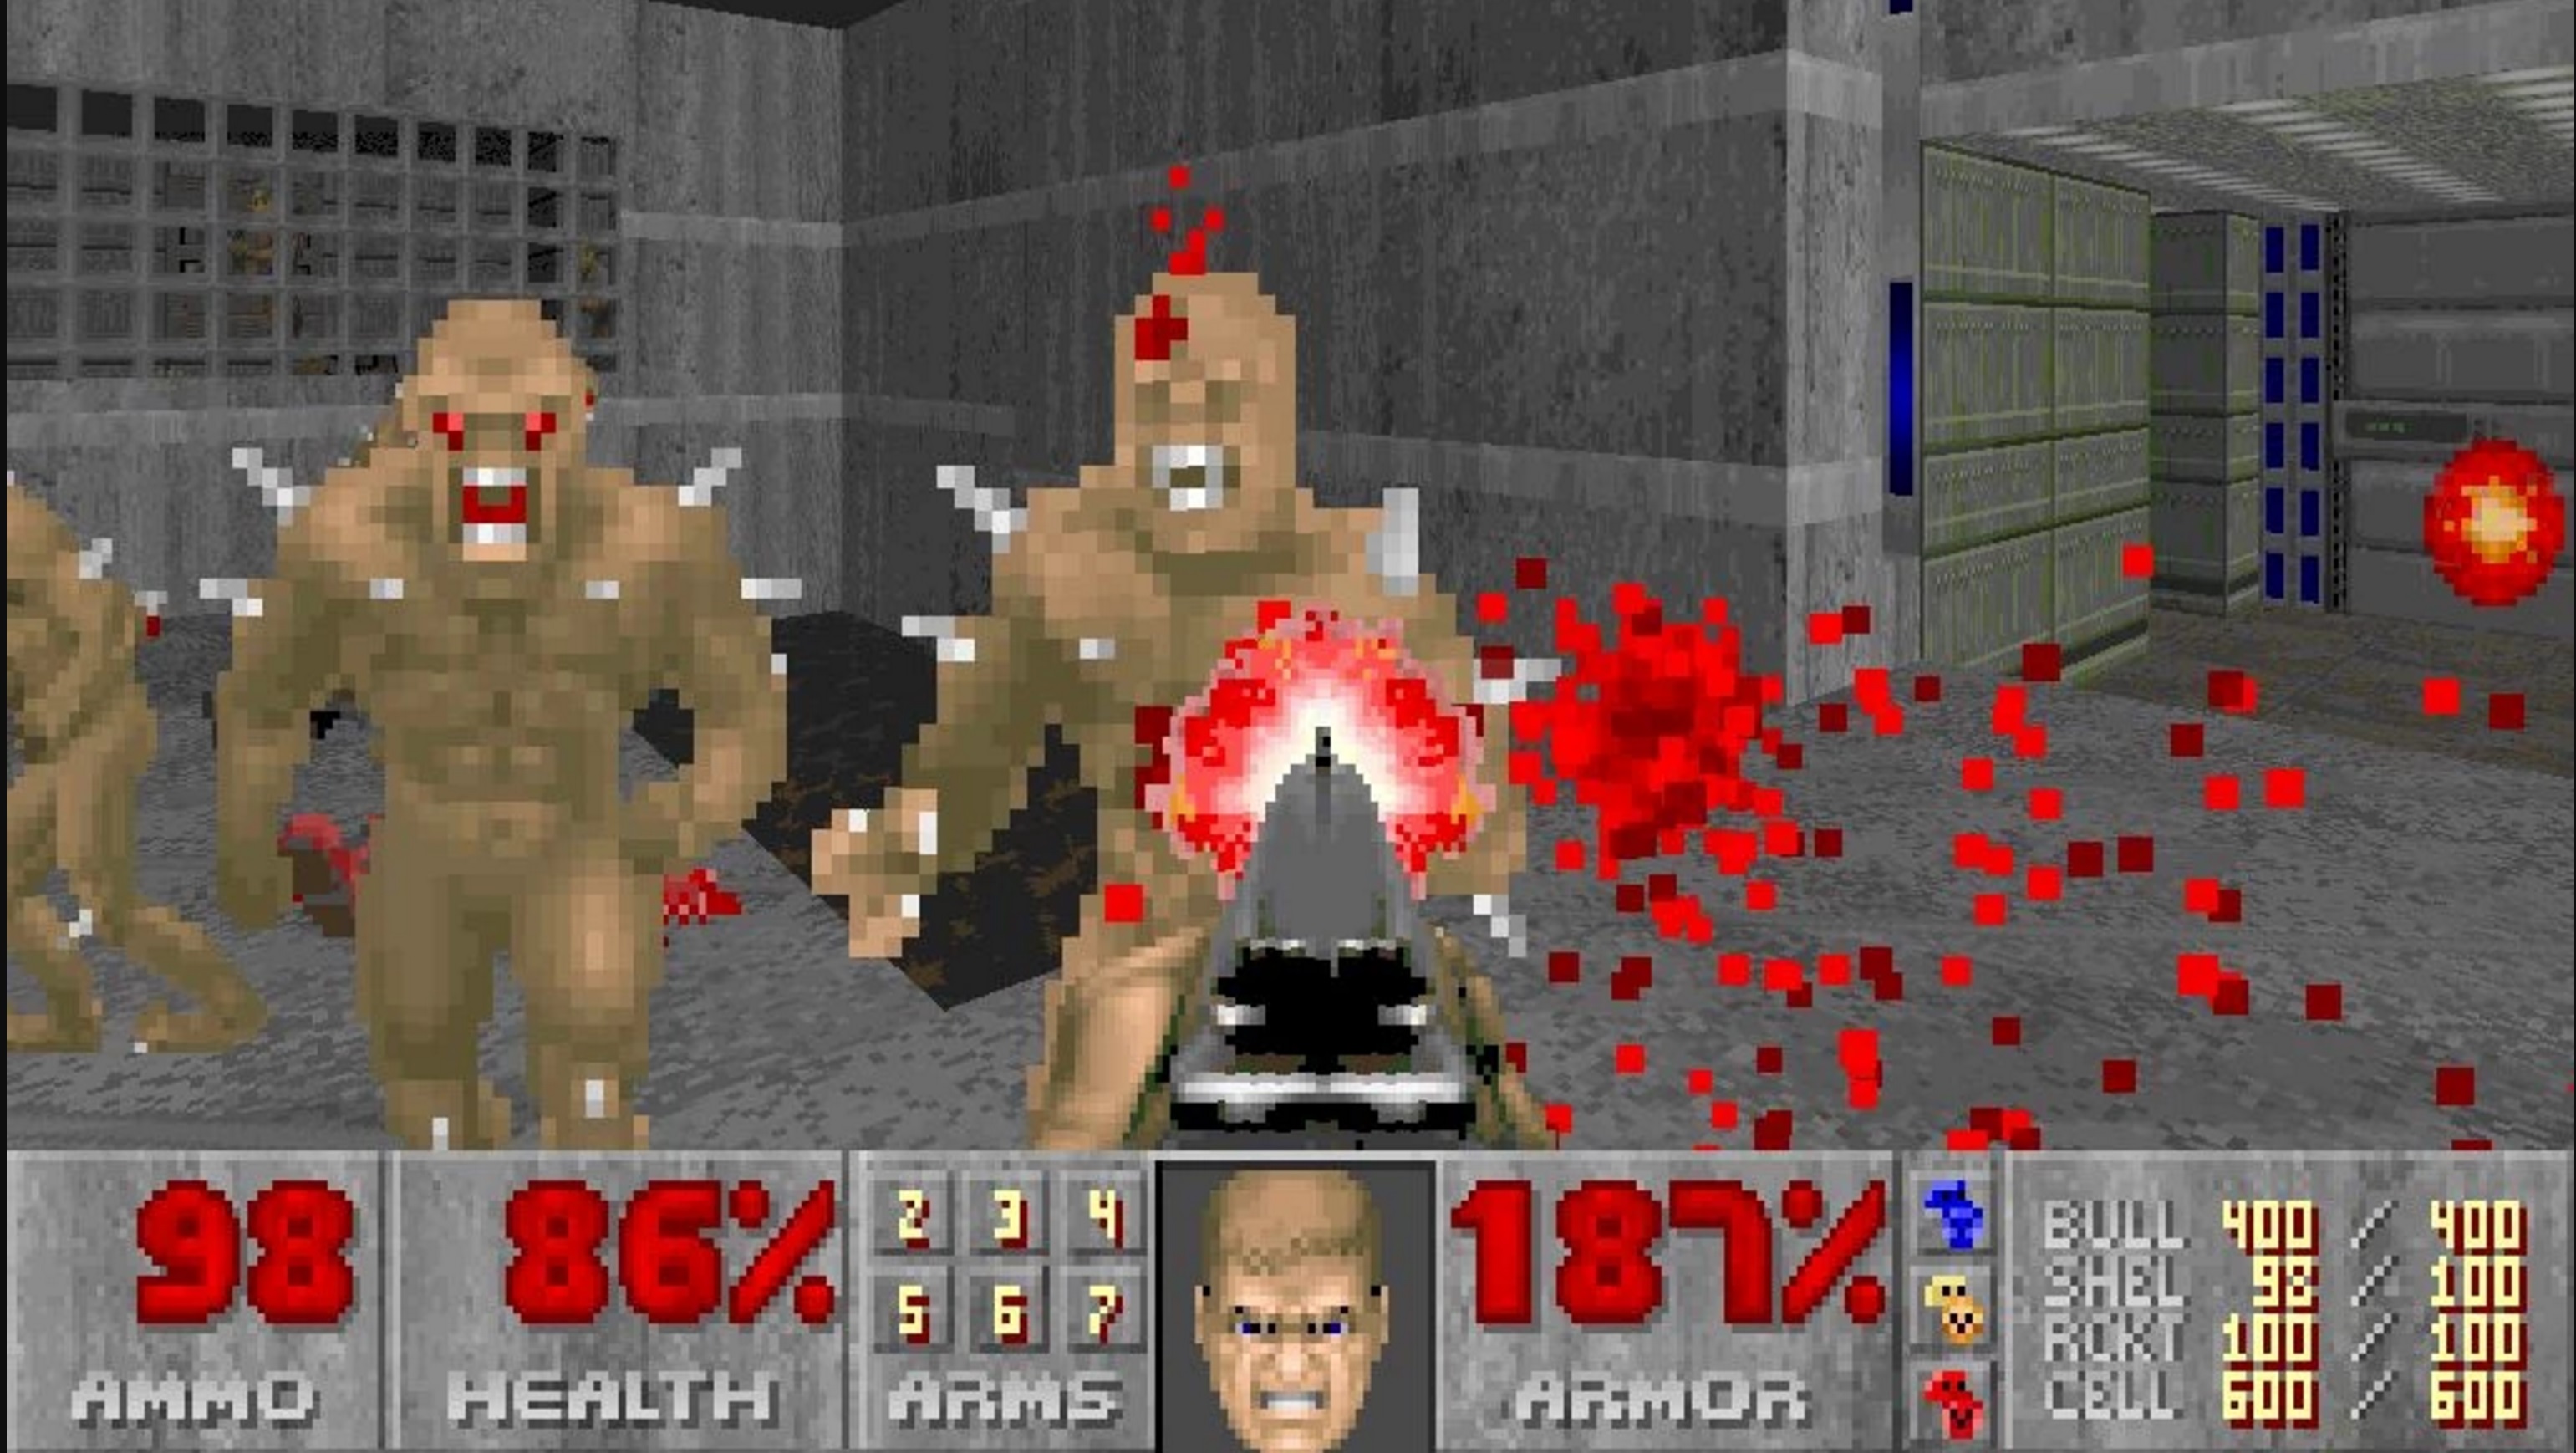
In 1993, id Software released the first-person shooter Doom, which quickly became a phenomenon. The game is now considered one of the most influential games of all time.
A decade after Doom's release, in 2003, journalist David Kushner published a book about id Software called Masters of Doom, which has since become the canonical account of Doom's creation. I read Masters of Doom a few years ago and don't remember much of it now, but there was one story in the book about lead programmer John Carmack that has stuck with me. This is a loose gloss of the story (see below for the full details), but essentially, early in the development of Doom, Carmack realized that the 3D renderer he had written for the game slowed to a crawl when trying to render certain levels. This was unacceptable, because Doom was supposed to be action-packed and frenetic. So Carmack, realizing the problem with his renderer was fundamental enough that he would need to find a better rendering algorithm, starting reading research papers. He eventually implemented a technique called "binary space partitioning," never before used in a video game, that dramatically sped up the Doom engine.
That story about Carmack applying cutting-edge academic research to video games has always impressed me. It is my explanation for why Carmack has become such a legendary figure. He deserves to be known as the archetypal genius video game programmer for all sorts of reasons, but this episode with the academic papers and the binary space partitioning is the justification I think of first.
Obviously, the story is impressive because "binary space partitioning" sounds like it would be a difficult thing to just read about and implement yourself. I've long assumed that what Carmack did was a clever intellectual leap, but because I've never understood what binary space partitioning is or how novel a technique it was when Carmack decided to use it, I've never known for sure. On a spectrum from Homer Simpson to Albert Einstein, how much of a genius-level move was it really for Carmack to add binary space partitioning to Doom?
I've also wondered where binary space partitioning first came from and how the idea found its way to Carmack. So this post is about John Carmack and Doom, but it is also about the history of a data structure: the binary space partitioning tree (or BSP tree). It turns out that the BSP tree, rather interestingly, and like so many things in computer science, has its origins in research conducted for the military.
That's right: E1M1, the first level of Doom, was brought to you by the US Air Force.
The VSD problem
The BSP tree is a solution to one of the thorniest problems in computer graphics. In order to render a three-dimensional scene, a renderer has to figure out, given a particular viewpoint, what can be seen and what cannot be seen. This is not especially challenging if you have lots of time, but a respectable real-time game engine needs to figure out what can be seen and what cannot be seen at least 30 times a second.
This problem is sometimes called the problem of visible surface determination. Michael Abrash, a programmer who worked with Carmack on Quake (id Software's follow-up to Doom), wrote about the VSD problem in his famous Graphics Programming Black Book:
I want to talk about what is, in my opinion, the toughest 3-D problem of all: visible surface determination (drawing the proper surface at each pixel), and its close relative, culling (discarding non-visible polygons as quickly as possible, a way of accelerating visible surface determination). In the interests of brevity, I'll use the abbreviation VSD to mean both visible surface determination and culling from now on.
Why do I think VSD is the toughest 3-D challenge? Although rasterization issues such as texture mapping are fascinating and important, they are tasks of relatively finite scope, and are being moved into hardware as 3-D accelerators appear; also, they only scale with increases in screen resolution, which are relatively modest.
In contrast, VSD is an open-ended problem, and there are dozens of approaches currently in use. Even more significantly, the performance of VSD, done in an unsophisticated fashion, scales directly with scene complexity, which tends to increase as a square or cube function, so this very rapidly becomes the limiting factor in rendering realistic worlds.
Abrash was writing about the difficulty of the VSD problem in the late '90s, years after Doom had proved that regular people wanted to be able to play graphically intensive games on their home computers. In the early '90s, when id Software first began publishing games, the games had to be programmed to run efficiently on computers not designed to run them, computers meant for word processing, spreadsheet applications, and little else. To make this work, especially for the few 3D games that id Software published before Doom, id Software had to be creative. In these games, the design of all the levels was constrained in such a way that the VSD problem was easier to solve.
For example, in Wolfenstein 3D, the game id Software released just prior toDoom, every level is made from walls that are axis-aligned. In other words, in the Wolfenstein universe, you can have north-south walls or west-east walls, but nothing else. Walls can also only be placed at fixed intervals on a grid—all hallways are either one grid square wide, or two grid squares wide, etc., but never 2.5 grid squares wide. Though this meant that the id Software team could only design levels that all looked somewhat the same, it made Carmack's job of writing a renderer for Wolfenstein much simpler.
The
Wolfensteinrenderer solved the VSD problem by "marching" rays into the virtual world from the screen. Usually a renderer that uses rays is a "raycasting" renderer—these renderers are often slow, because solving the VSD problem in a raycaster involves finding the first intersection between a ray and something in your world, which in the general case requires lots of number crunching. But in
Wolfenstein, because all the walls are aligned with the grid, the only location a ray can possibly intersect a wall is at the grid lines. So all the renderer needs to do is check each of those intersection points. If the renderer starts by checking the intersection point nearest to the player's viewpoint, then checks the next nearest, and so on, and stops when it encounters the first wall, the VSD problem has been solved in an almost trivial way. A ray is just marched forward from each pixel until it hits something, which works because the marching is so cheap in terms of CPU cycles. And actually, since all walls are the same height, it is only necessary to march a single ray for every
columnof pixels.
This rendering shortcut made Wolfenstein fast enough to run on underpowered home PCs in the era before dedicated graphics cards. But this approach would not work for Doom, since the id team had decided that their new game would feature novel things like diagonal walls, stairs, and ceilings of different heights. Ray marching was no longer viable, so Carmack wrote a different kind of renderer. Whereas the Wolfenstein renderer, with its ray for every column of pixels, is an "image-first" renderer, the Doom renderer is an "object-first" renderer. This means that rather than iterating through the pixels on screen and figuring out what color they should be, the Doom renderer iterates through the objects in a scene and projects each onto the screen in turn.
In an object-first renderer, one easy way to solve the VSD problem is to use a z-buffer. Each time you project an object onto the screen, for each pixel you want to draw to, you do a check. If the part of the object you want to draw is closer to the player than what was already drawn to the pixel, then you can overwrite what is there. Otherwise you have to leave the pixel as is. This approach is simple, but a z-buffer requires a lot of memory, and the renderer may still expend a lot of CPU cycles projecting level geometry that is never going to be seen by the player.
In the early 1990s, there was an additional drawback to the z-buffer approach: On IBM-compatible PCs, which used a video adapter system called VGA, writing to the output frame buffer was an expensive operation. So time spent drawing pixels that would only get overwritten later tanked the performance of your renderer.
Since writing to the frame buffer was so expensive, the ideal renderer was one that started by drawing the objects closest to the player, then the objects just beyond those objects, and so on, until every pixel on screen had been written to. At that point the renderer would know to stop, saving all the time it might have spent considering far-away objects that the player cannot see. But ordering the objects in a scene this way, from closest to farthest, is tantamount to solving the VSD problem. Once again, the question is: What can be seen by the player?
VIDEO
Initially, Carmack tried to solve this problem by relying on the layout of Doom's levels. His renderer started by drawing the walls of the room currently occupied by the player, then flooded out into neighboring rooms to draw the walls in those rooms that could be seen from the current room. Provided that every room was convex, this solved the VSD issue. Rooms that were not convex could be split into convex "sectors." You can see how this rendering technique might have looked if run at extra-slow speed in the video above, where YouTuber Bisqwit demonstrates a renderer of his own that works according to the same general algorithm. This algorithm was successfully used in Duke Nukem 3D, released three years after Doom, when CPUs were more powerful. But, in 1993, running on the hardware then available, the Doom renderer that used this algorithm struggled with complicated levels—particularly when sectors were nested inside of each other, which was the only way to create something like a circular pit of stairs. A circular pit of stairs led to lots of repeated recursive descents into a sector that had already been drawn, strangling the game engine's speed.
Around the time that the id team realized that the Doom game engine might be too slow, id Software was asked to port Wolfenstein 3D to the Super Nintendo. The Super Nintendo was even less powerful than the IBM-compatible PCs of the day, and it turned out that the ray-marching Wolfenstein renderer, simple as it was, didn't run fast enough on the Super Nintendo hardware. So Carmack began looking for a better algorithm. It was actually for the Super Nintendo port of Wolfenstein that Carmack first researched and implemented binary space partitioning. In Wolfenstein, this was relatively straightforward because all the walls were axis-aligned; in Doom, it would be more complex. But Carmack realized that BSP trees would solve Doom's speed problems too.
via Ars Technica https://arstechnica.com
 | WIRED")
